
Melanie's Beauty Routine Tutorial
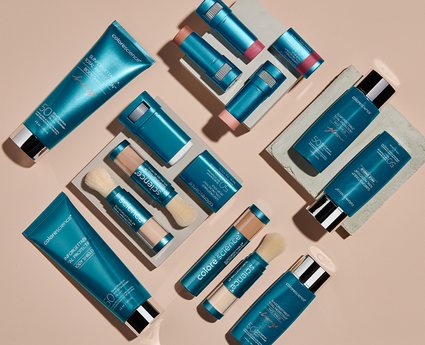
Hi. My name is Melanie, and in this post I'm going to show you how to camouflage with Colorescience. I have hyperpigmentation, dark circles under my eyes, and red spots. With the Colorescience Everything Correcting beauty routine, I can solve all of these problems.
Step 1: Protect & Correct

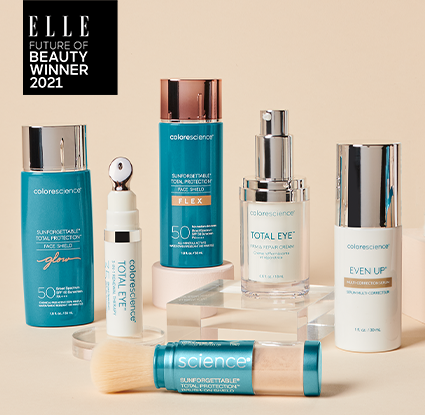
The first product in my beauty routine is the Even Up Clinical Pigment Perfector SPF 50. Not only does it help to camouflage my hyperpigmentation, but it also helps to treat my hyperpigmentation. I apply it softly and blend it all over my face. It both mattifies and gives me the SPF 50 coverage that I need to reduce the risk of further damage. It also helps to camouflage hyperpigmentation, the dark circles under my eyes, and the redness in my skin.
Step 2: Camouflage

The Colorescience Mineral Corrector Palette is the second step in my routine. I absolutely adore this product. It is one of my favorite products that Colorescience has to offer. It can camouflage just about anything: dark circles, hyperpigmentation, and red spots. It is an absolute must-have if you have anything that you need to camouflage on your skin.
The first two colors are really good for camouflaging redness. You can also blend them together and even use them as a foundation. The last three are great for camouflaging hyperpigmentation and for contouring, eye shadow, eyebrows, etc. I usually start by using the first three to camouflage my red spots. They disappear quickly with a small application. Next, I camouflage the dark circles under my eyes by patting the product in and around my eye. The Mineral Corrector Palette really helps my eye area look brightened and lifted. Once I’m done, you can’t even tell that I have hyperpigmentation anymore.
Step 3: Foundation Coverage

The third product in my beauty routine is the Pressed Mineral Foundation Compact. I love this because it gives me adjustable coverage. I can use a brush with it to get really natural coverage, or I can use a sponge with it to get more of a nighttime look. For the most natural look, I use a kabuki brush with this pressed compact. Typically, I load the brush with a circular motion in the compact and then slowly buff, concentrating on areas where I have hyperpigmentation and the corrector palette. Applying pressed foundation at this stage blends out the corrector palette and provides additional coverage.
Step 4: Setting Mist

The final step in my camouflaging routine is the Setting Mist. It's really great because it helps to set the minerals and it makes them look a lot more natural so I'm ready to go for the rest of the day. You want to make three passes of continuous pumping and that's going to set the minerals and makeup for the rest of the day.
Step 5: All-Day Sun Protection

When I’m on the go, I bring a Colorescience Sunforgettable SPF 50 Sunscreen Brush. It's an SPF 50 mineral sunscreen, it comes in a convenient brush, and it won’t ruin the other products that I’ve applied to camouflage hyperpigmentation. It’s easy to brush on throughout the day, helps reduce the risk of further hyperpigmentation, and helps to touch-up makeup. It only takes a few moments to apply.
Once again, here’s how I look before and after I’ve applied my beauty routine. Colorescience products make me feel amazing!
